A gas furnace installation done right has more steps before the truck arrives than after it. Sizing, choosing a model that is legal to install in the South Coast air basin, pulling the permit, and looking at the ducts all happen first. The swap itself is usually a day. Here is the whole sequence, what each step is for, and where homeowners in Pasadena, CA get short-changed.
Step 1: size it from the house, not the old furnace
Furnace capacity is rated in BTUs per hour, and the right number comes from a load calculation: square footage, ceiling height, windows and orientation, insulation, and how leaky the house is. It does not come from reading the old furnace's label. Furnaces in older homes around here are very often oversized, because our winters are mild and nobody wanted a callback. An oversized furnace short-cycles, heats unevenly, and wears out its igniter and limit switch early. Ask the installer how the size was decided.
Step 2: choose the furnace
Three things matter on the spec sheet.
- Efficiency (AFUE). A standard furnace vents through a metal flue. A high-efficiency condensing furnace pulls more heat from the same gas, vents through PVC, and makes water that must be drained. In a short heating season the payback on the higher tier is slower than it would be in a cold climate. A tech should show both.
- Stages. Single-stage runs full blast or off. Two-stage and modulating furnaces run low most of the time, which is quieter and evens out the temperature. Worth more in a big or two-story house than in a small bungalow.
- Low-NOx certification. South Coast AQMD Rule 1111 limits nitrogen-oxide emissions from new residential gas furnaces to 14 nanograms per joule, in force for furnaces below 4,200 feet since October 2019. A furnace bought online from out of state may not meet it and cannot legally be installed here. This is one of the reasons to buy the equipment through the installer.
We install American Standard, Bryant, Carrier, Daikin, Goodman, Lennox, Mitsubishi Electric, and York equipment. Which one fits depends on the house and the budget, not on a ranking.
Step 3: look at the ducts and the venting
A new furnace pushes air through the same ducts as the old one. In the 1950s to 1980s ranch homes across the San Gabriel and San Fernando valleys those are usually original attic ducts, and after decades in 130°F attics the insulation is flat and the joints are open. If the ducts leak, the new furnace heats the attic. The installer should inspect them and tell you whether they need sealing, repair, or replacement.
Venting is the safety side. A standard furnace needs a flue in good condition with the right rise and clearances. A condensing furnace needs new PVC intake and exhaust runs to the outside, and a drain for the condensate. The venting plan should be in the quote.
Step 4: the permit and the test
A mechanical permit is required to replace a furnace, and the city inspects the work. When an air handler is replaced, California also requires duct leakage testing by a third-party rater (HERS, now called ECC). Both belong on the quote as line items. An installer who offers to "save you the permit" is offering to leave you with an unpermitted furnace at resale and no inspection of the gas and vent connections.
Step 5: removal
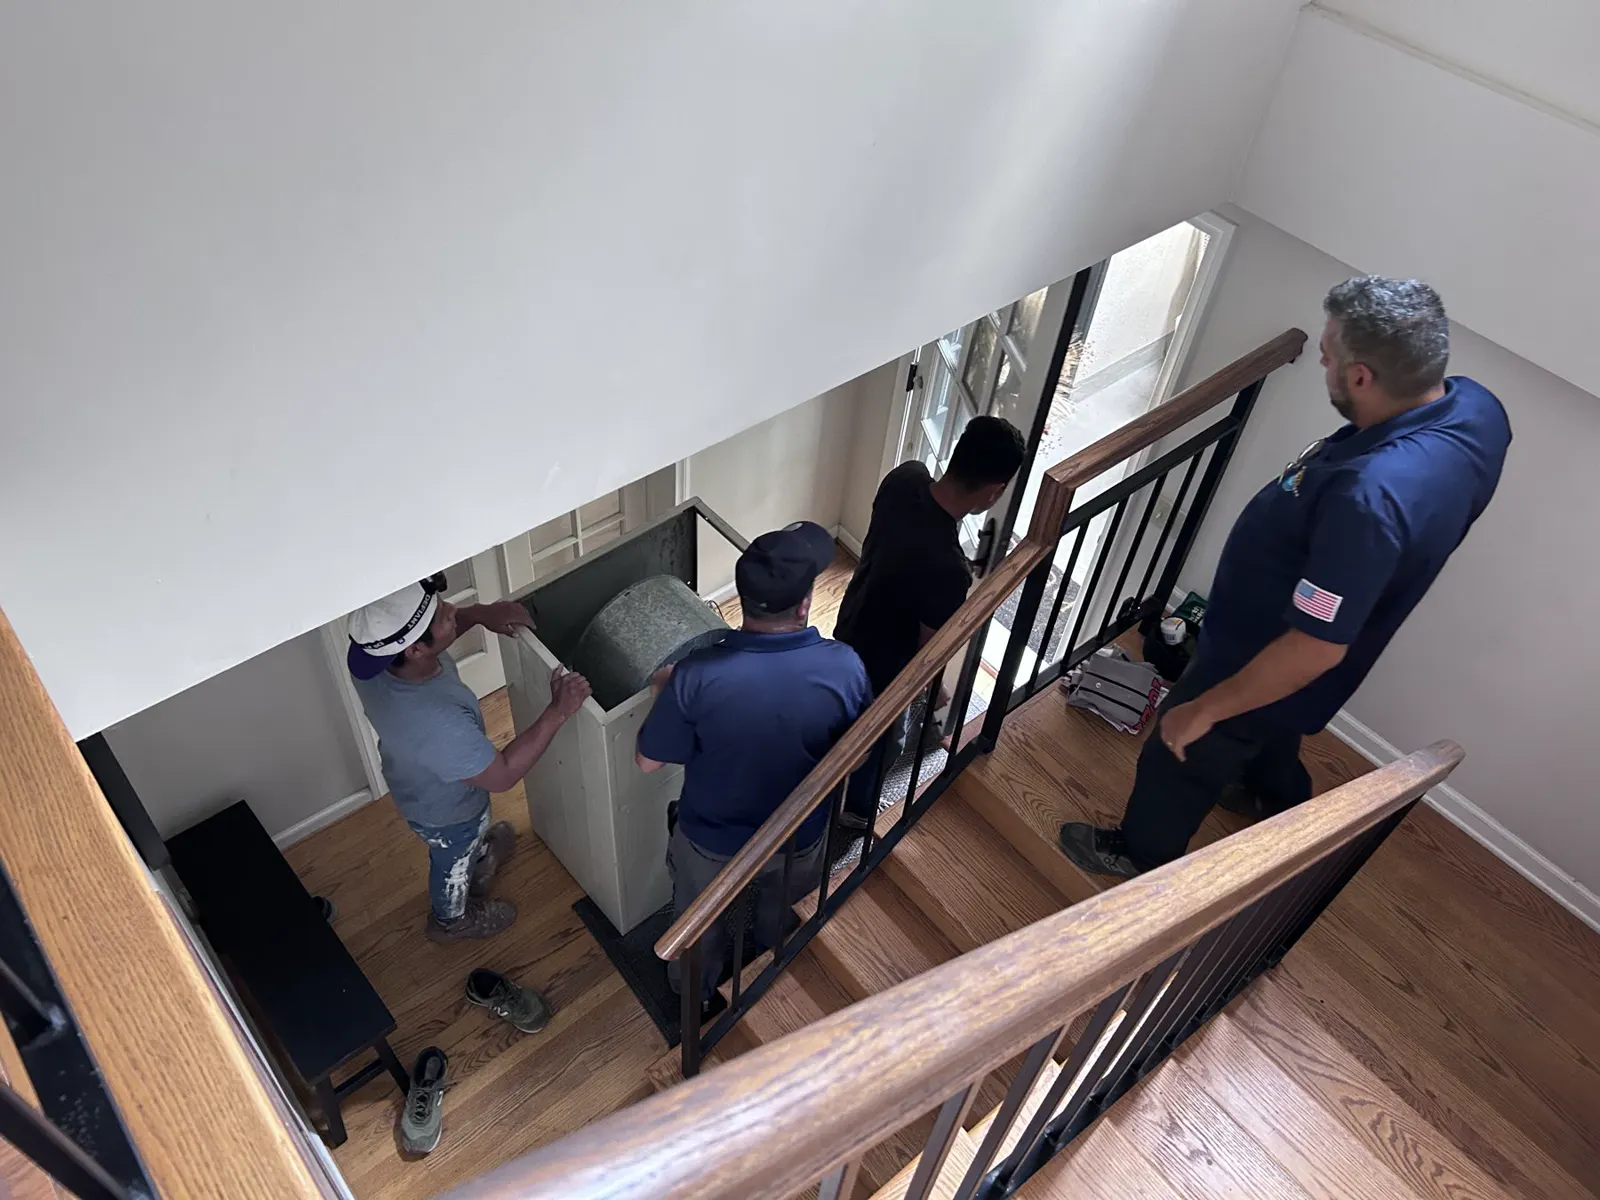
On the day, the installer shuts off the gas at the appliance valve and the power at the furnace switch and breaker, disconnects the gas line, the flue, the low-voltage wiring, the power, and the plenums, and hauls the old unit out. Closet furnaces in Pasadena bungalows and attic furnaces reached through a hall hatch add time here; a rooftop unit adds a crane.
Step 6: setting the new furnace
The new furnace is set level on its platform or in its closet with the manufacturer's clearances to combustibles, then connected in this order: supply and return plenums with sealed transitions, the flue or the new PVC venting, the condensate drain if it is a condensing model, the gas line with a new drip leg and shutoff, the electrical whip, and the thermostat and safety wiring. The gas connection gets a leak check with a detector or soap solution at every joint before anything is lit.
This is the part that is never a DIY job. Gas piping, venting, and the electrical connection each have a code and an inspection for a reason, and manufacturers commonly void the parts warranty on an owner install, so check yours.
Step 7: startup and testing
A furnace that runs is not a furnace that is finished. Startup includes:
- Checking gas pressure at the valve against the data plate.
- Measuring the temperature rise across the heat exchanger and setting the blower speed so it lands in the range printed on the furnace.
- Watching the flame: steady, mostly blue, no lifting or rollout.
- Testing every safety: high limit, rollout switch, pressure switch, flame sensor dropout.
- Confirming the thermostat calls, stages, and shuts down correctly.
- Checking airflow at the registers in every room.
- Walking you through the filter, the power switch, the gas shutoff, and the status light codes.
Then the ECC rater tests the ducts, and the city inspects.
After the installation
- California requires a carbon monoxide alarm in every home with a fuel-burning appliance or an attached garage (Health and Safety Code section 17926). Confirm you have one on each level and near bedrooms, and test it.
- Check the filter monthly and replace it every one to three months.
- Book a furnace inspection each fall. Some manufacturers' parts warranties expect annual service, so check yours.
- Register the equipment with the manufacturer. Some extend the parts warranty only if you do.
What you can check yourself
- Read the old furnace's data plate: brand, model, serial, BTU input, and the type of venting it has now.
- Note which rooms never warm up. That is duct information the installer needs.
- Look in the attic at the ducts and photograph anything crushed or hanging.
- Confirm the furnace closet or attic access can actually fit a new cabinet in and the old one out.
- Check for a working CO alarm.
When to call a licensed tech
Call when the old furnace has a cracked heat exchanger, when repairs have stacked up two winters running, when you want a load calculation rather than a guess, or when you want the ducts looked at before deciding. Our furnace installation visit ends with a written quote, and financing is available on new systems through Wisetack, with monthly plans on approved credit. Checking your options does not affect your credit score.
Common questions
How long does a gas furnace installation take?
A straight swap in an accessible closet is typically a day. New venting, duct replacement, or attic access can add a second day. The quote should say.
Do I need a new thermostat?
Not always, but a two-stage or modulating furnace needs a thermostat that can control the stages, and an old mechanical thermostat usually cannot. Ask before the installation day.
Can I install the furnace myself and have it inspected after?
No, not safely. Gas piping and venting are the parts of the job that hurt people when they are wrong, and manufacturers commonly void the parts warranty on an owner install. The work is permitted and inspected either way, so the real question is who carries the liability for what ends up behind the wall.
If you are ready to talk about a new furnace, book a $69 diagnostic and we will start with the one you have. You are told the price before we schedule, and it is credited toward the work if you go ahead. Call Boost Services at 818-277-5056 or send us a message and we will usually be out within a few hours.
Written with AI assistance by Boost Services, Heating and Cooling team, and reviewed by our licensed technicians before publishing. Boost Services Heating and Cooling, C-20 #1119892.